Sunday, May 29, 2011

Mazda 6 : Replacing spark plugs

First of all, disclaimer:

I’m not responsible for any damage you may cause to your car or, even worse, to yourself using instructions provided bellow. I’m not a professional mechanic and whatnot, so use these instructions at your own risk. Read entire post first and be sure you understand everything before you start it. If you’re in doubt – seek professional help.

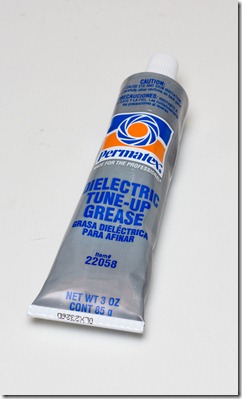
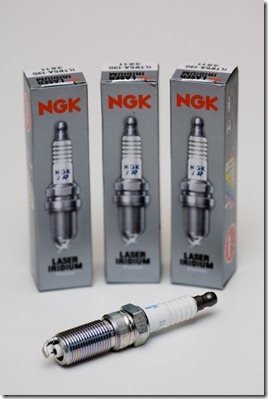
Stuff you’ll need:

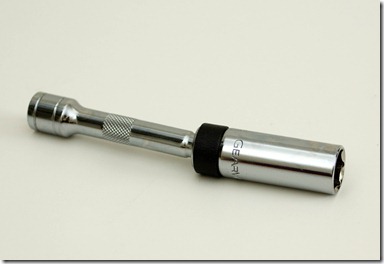
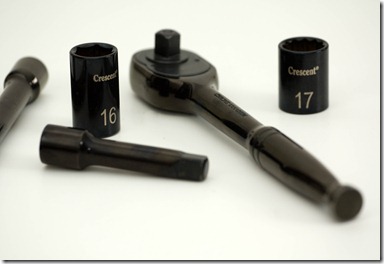
IMG_3560IMG_3573

IMG_3584IMG_3593IMG_3600

Let’s begin.

  • Disconnect battery’s negative terminal
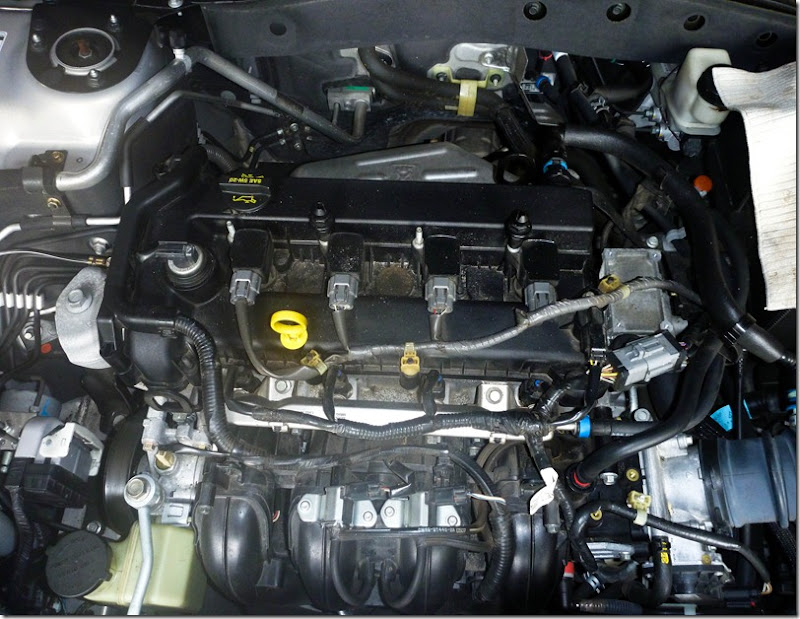
  • Remove plastic cover from engine

P1000982

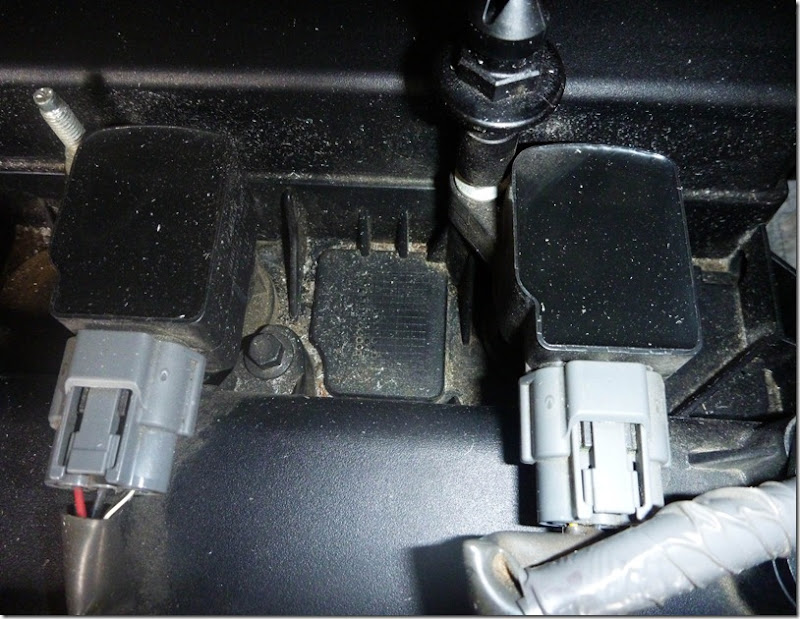
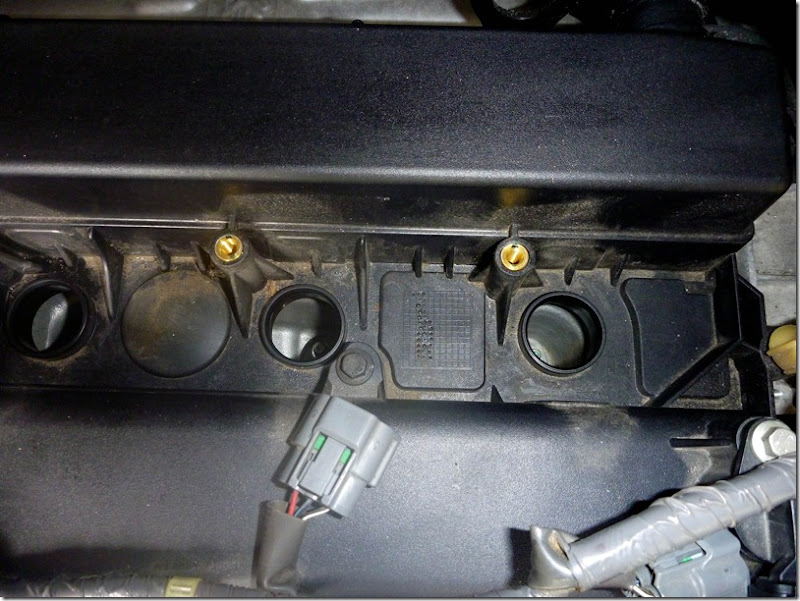
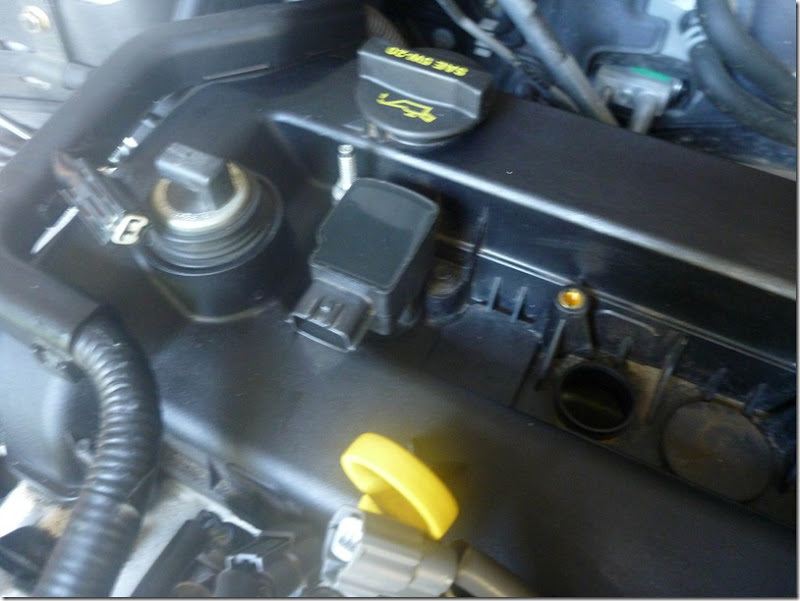
  • Cleanup the area around ignition coils thoroughly, use whatever necessary (vacuum, toothbrush, etc) to make it clean, you don’t want any debris around when you remove your spark plugs.

P1000983

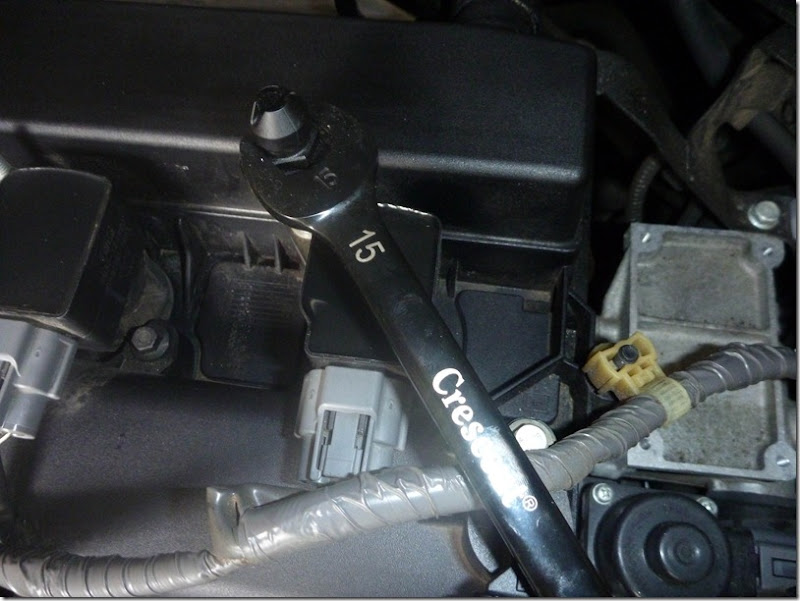
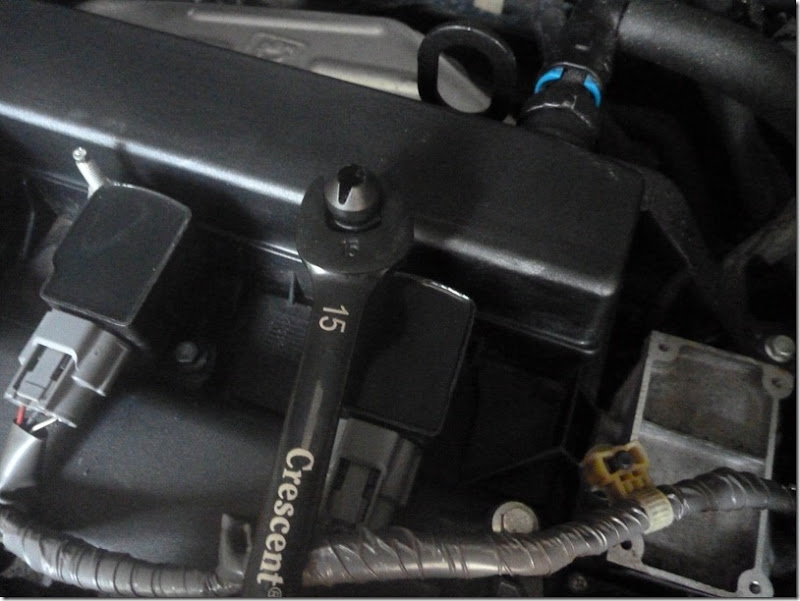
  • Use 15 mm key to remove those little plastic thing that holds engine cover.

P1000984

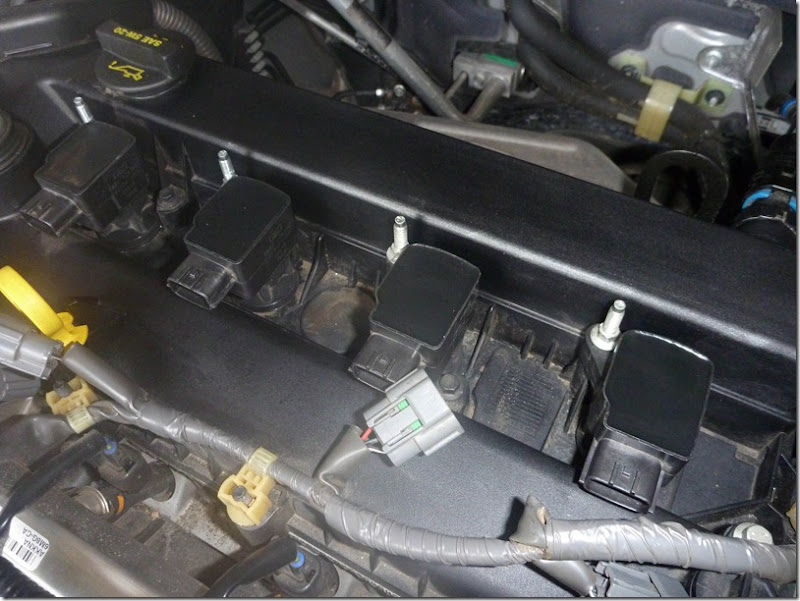
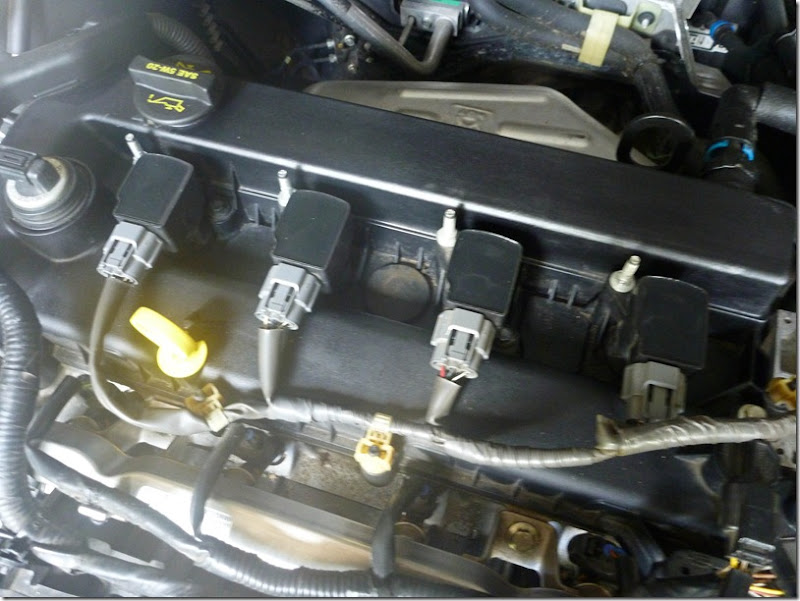
  • Disconnect coils wires.
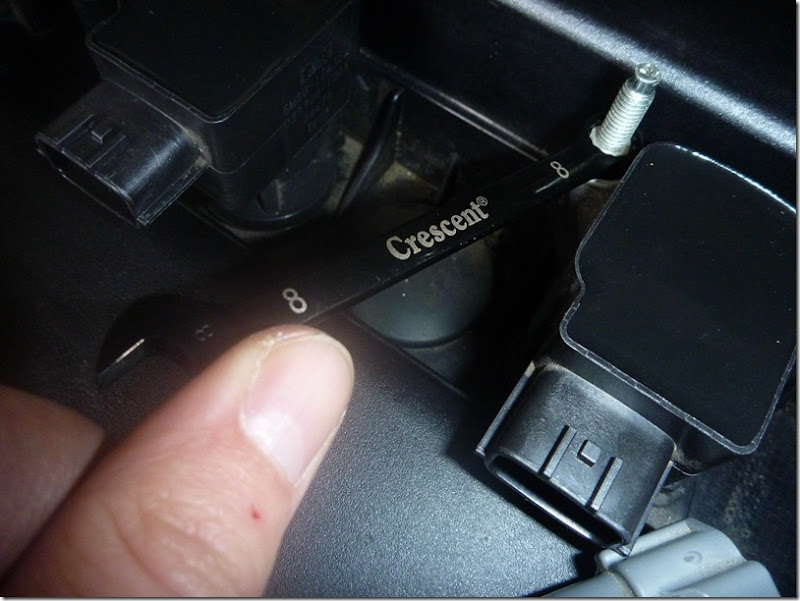
  • Unscrew bolts that hold ignition coils
  • Remove coils

P1000985

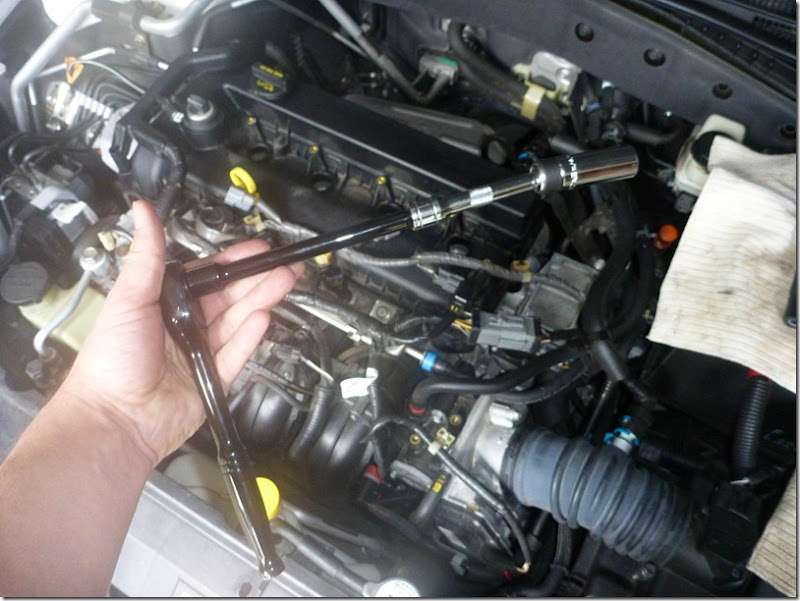
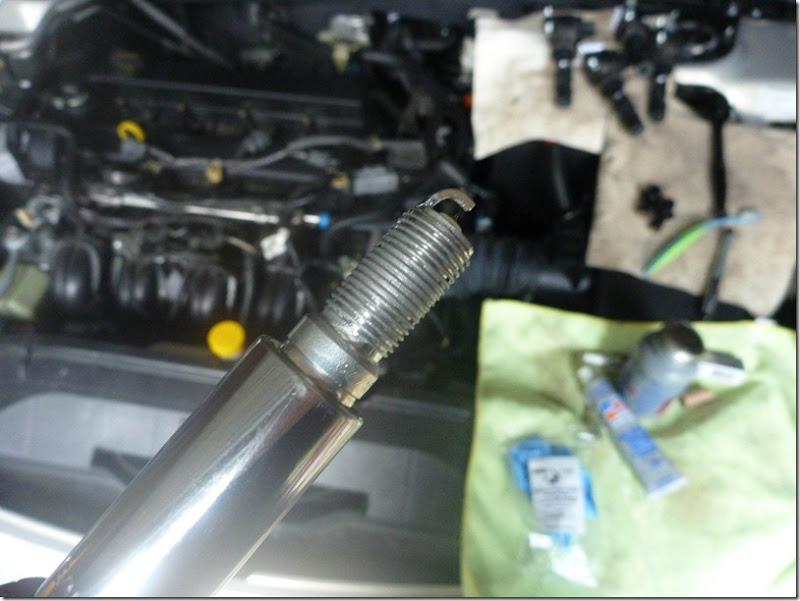
  • Now, take spark plug socket and remove a spark plug (I’d recommend doing one spark plug at a time)

P1000986

  • Take new spark plug, put it in the socket
  • Apply small amount of anti-seize lube
  • And screw it back in place

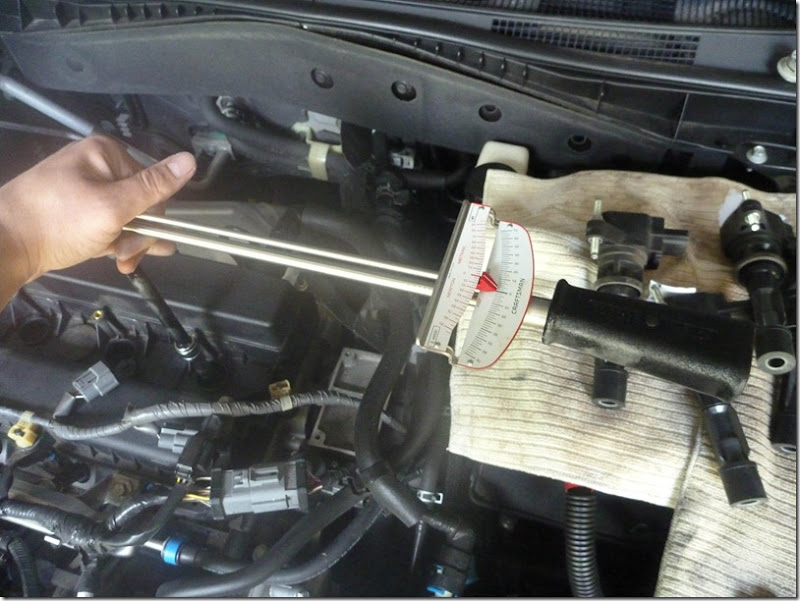
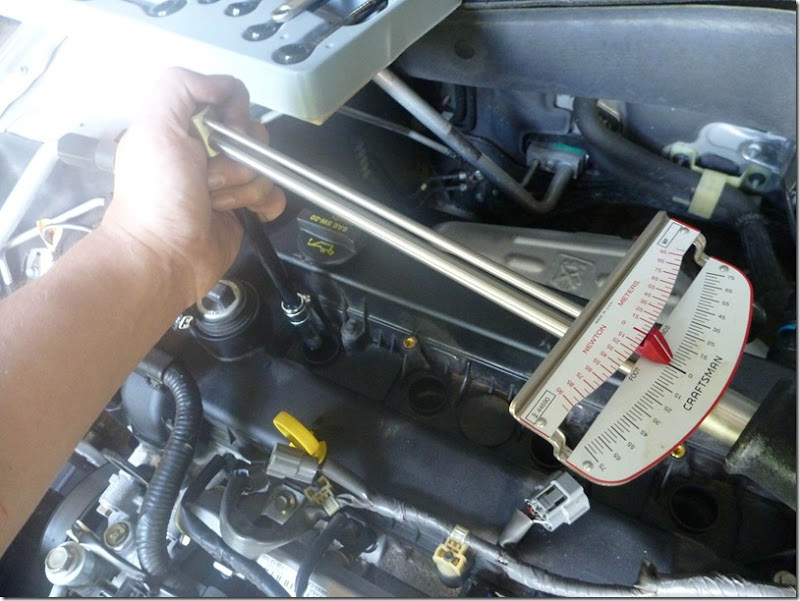
Use torque wrench and tighten up spark plug to 8-17 ft-lb

P1000988P1000989P1000991

last one….

P1000993

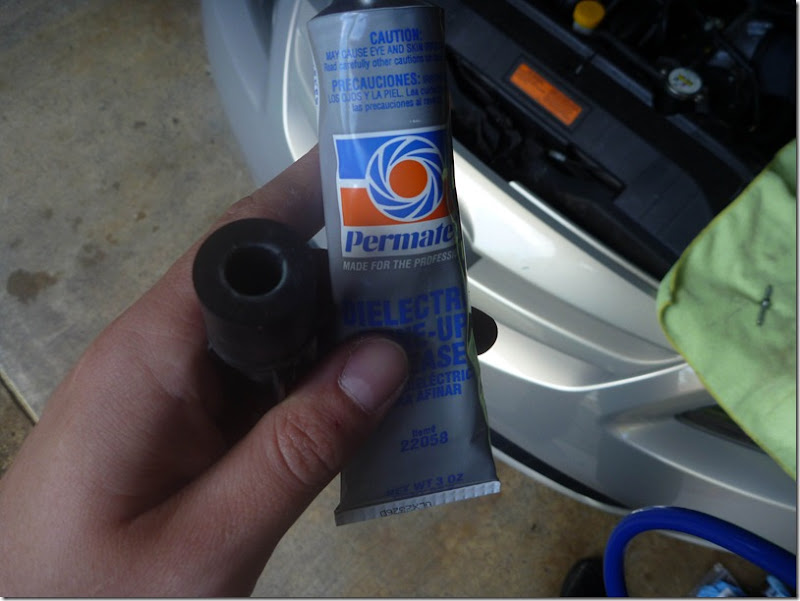
  • Its time to reinstall ignition coils, but before you do, put small amount of dielectric grease in it.

P1000994P1000995P1000997P1000998

  • All coils are in place

P1010001P1010002

  • Put engine cover back in place and reconnect battery.
  • And, you’re done!

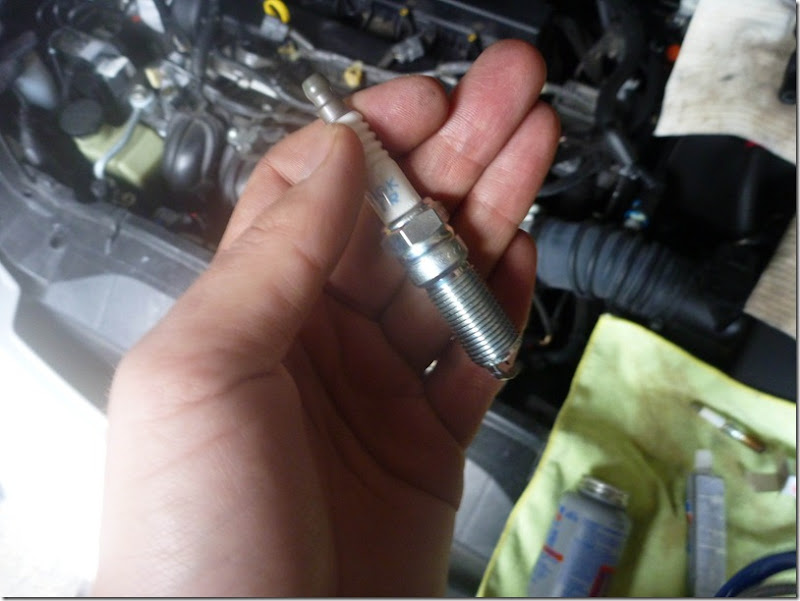
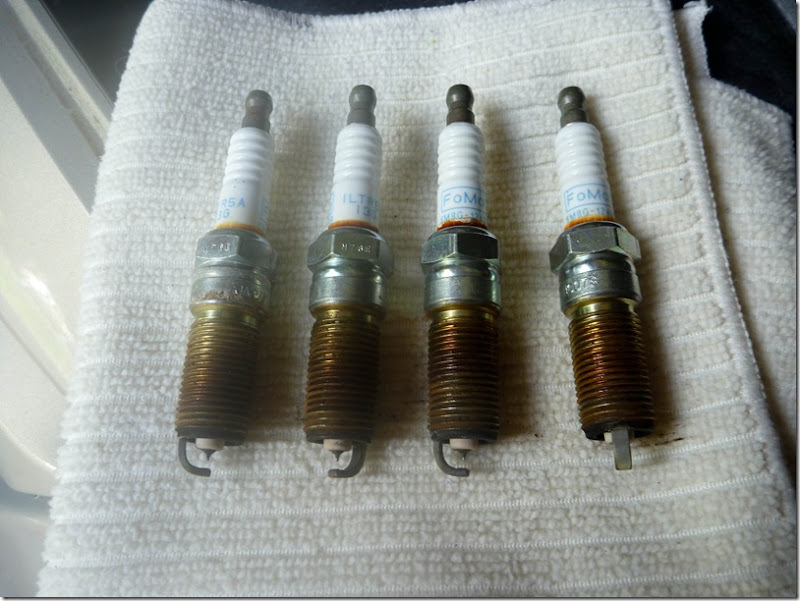
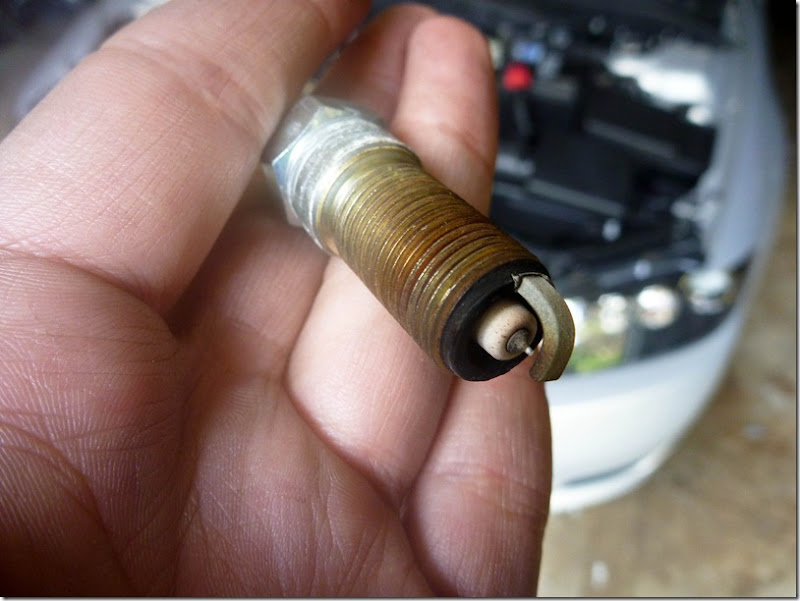
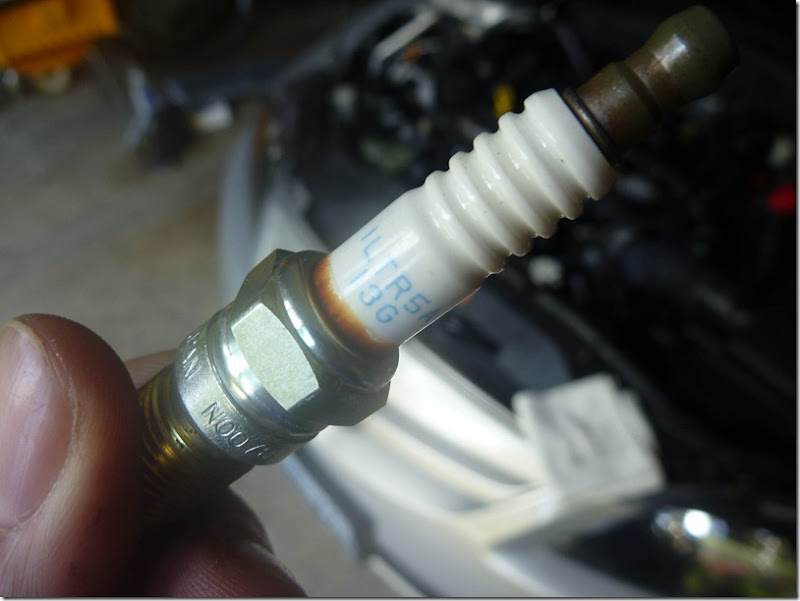
Before you throw away your old spark plugs inspect them for any signs of oil or white residue.

P1010003P1010006P1010008

Don’t forget to setup your clock, radio, and power windows as those were reset when you disconnected the battery.
Mazda 6: Changing power steering fluid – the “turkey baster” way

First of all, disclaimer:

I’m not responsible for any damage you may cause to your car or, even worse, to yourself using instructions provided bellow. I’m not a professional mechanic and whatnot, so use these instructions at your own risk. Read entire post first and be sure you understand everything before you start it. If you’re in doubt – seek professional help.

Here is an easy way to do it without draining your power steering system completely. The idea is not mine, some guy from mazda6club.com came up with it, and all credits go to him.

For this task you’ll need:

  • turkey baster:

image

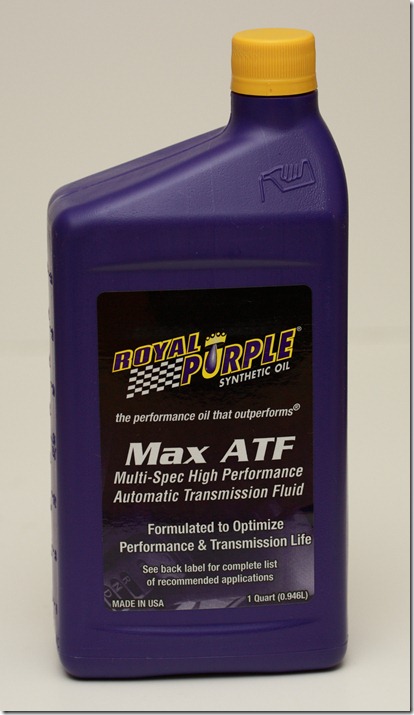
Royal Purple Max ATF

Steps:

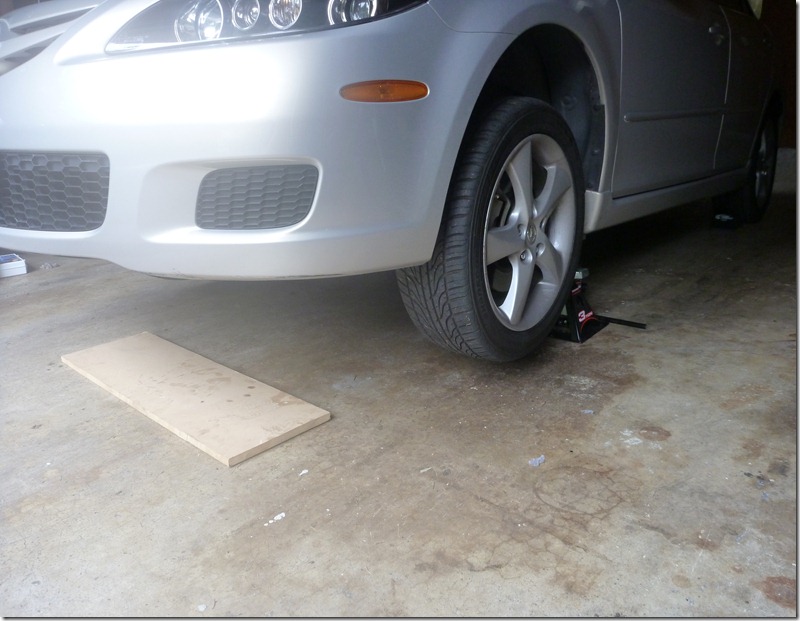
  • Put your car on jack stands;

P1010010

  • Put your key in ignition and turn it to the first or second position;
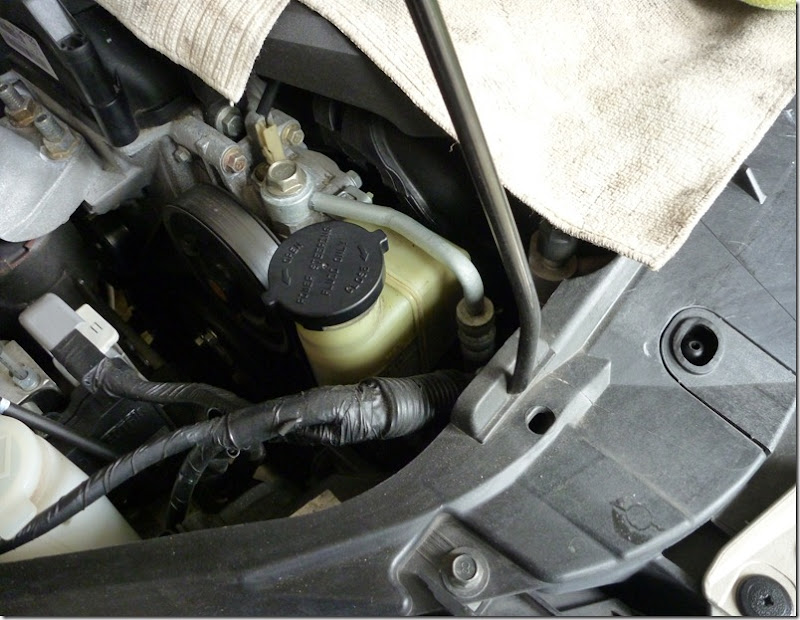
  • Pop up the hood and remove power steering fluid reservoir cap;

P1010012

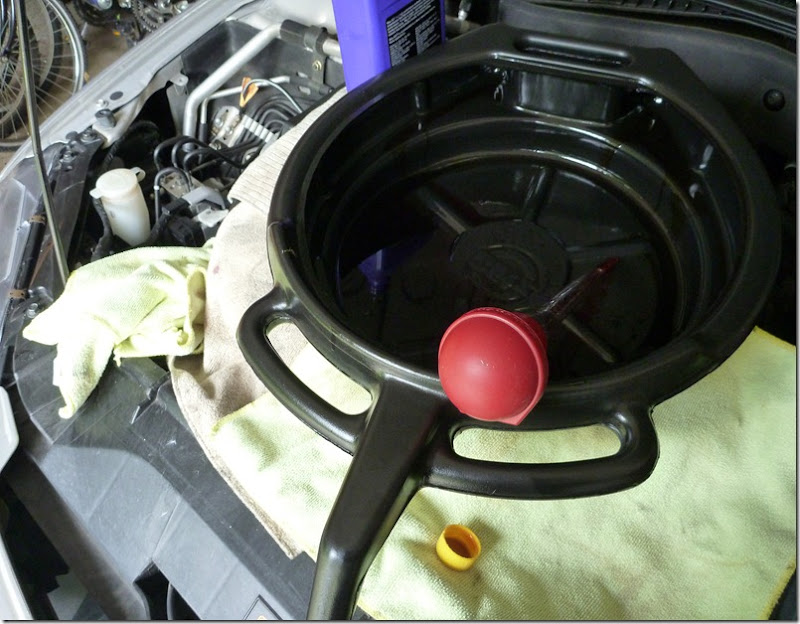
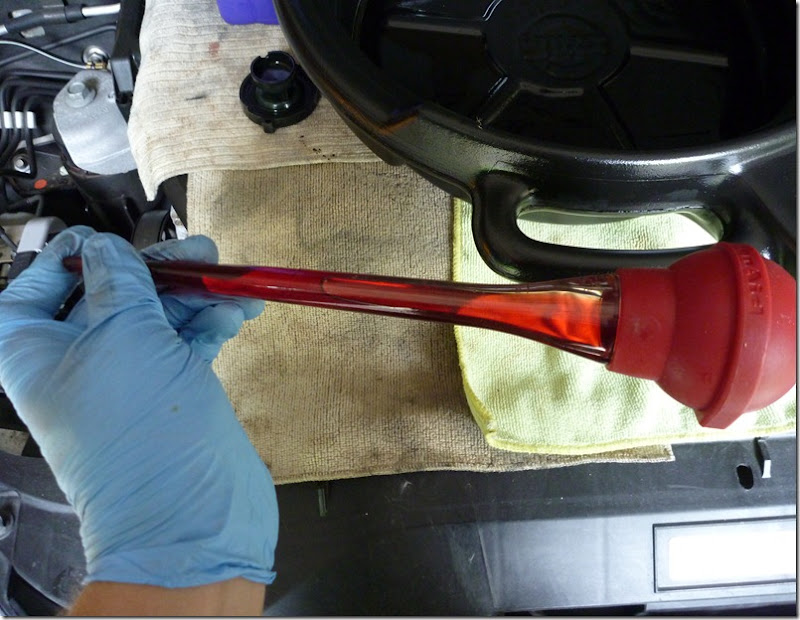
  • Take a turkey baster and remove 2 full basters of fluid from reservoir (when you do this first time, inspect the fluid, if its not nice and “pink-ish”, replace with 2 bottles, otherwise 1 is enough IMO);

P1010014

  • Put new ATF in reservoir (exactly as many as you removed);
  • Turn steering wheel from lock to lock couple times;
  • Repeat #4-6 until all fluid is replaced;

P1010013

  • Put the power steering reservoir cap back and lower the car;
  • Take used ATF to the recycling center

ATF, if spilled on paint, will damage it, so be careful, and wipe of any spills immediately.

Friday, May 27, 2011

Little update on a “footwell lights” installation post

Originally I installed a cathode under the driver’s seat by attaching it to the seat sprint underneath. Well, after some time went off, and when I took it off, it was broken. Turns out, if you install it this way, it will break eventually because you’ll be pushing on a fragile cathode with your weight Smile. Anyway, install in on a rod, that goes under the seat. I reinstalled mine, and it works fine since then.